Sugar Cookies and Snickerdoodles
Sugar cookies are one of the simplest cookies you can make. They’re also pretty versatile. You can leave them plain, ice them, turn them into snickerdoodles, or so much more. This week, I’m sharing my favorite sugar cookie recipe. Bonus—they’re not cut-out cookies, so you don’t have to roll them out or waste tough scraps!
Varieties
Basic Sugar Cookies
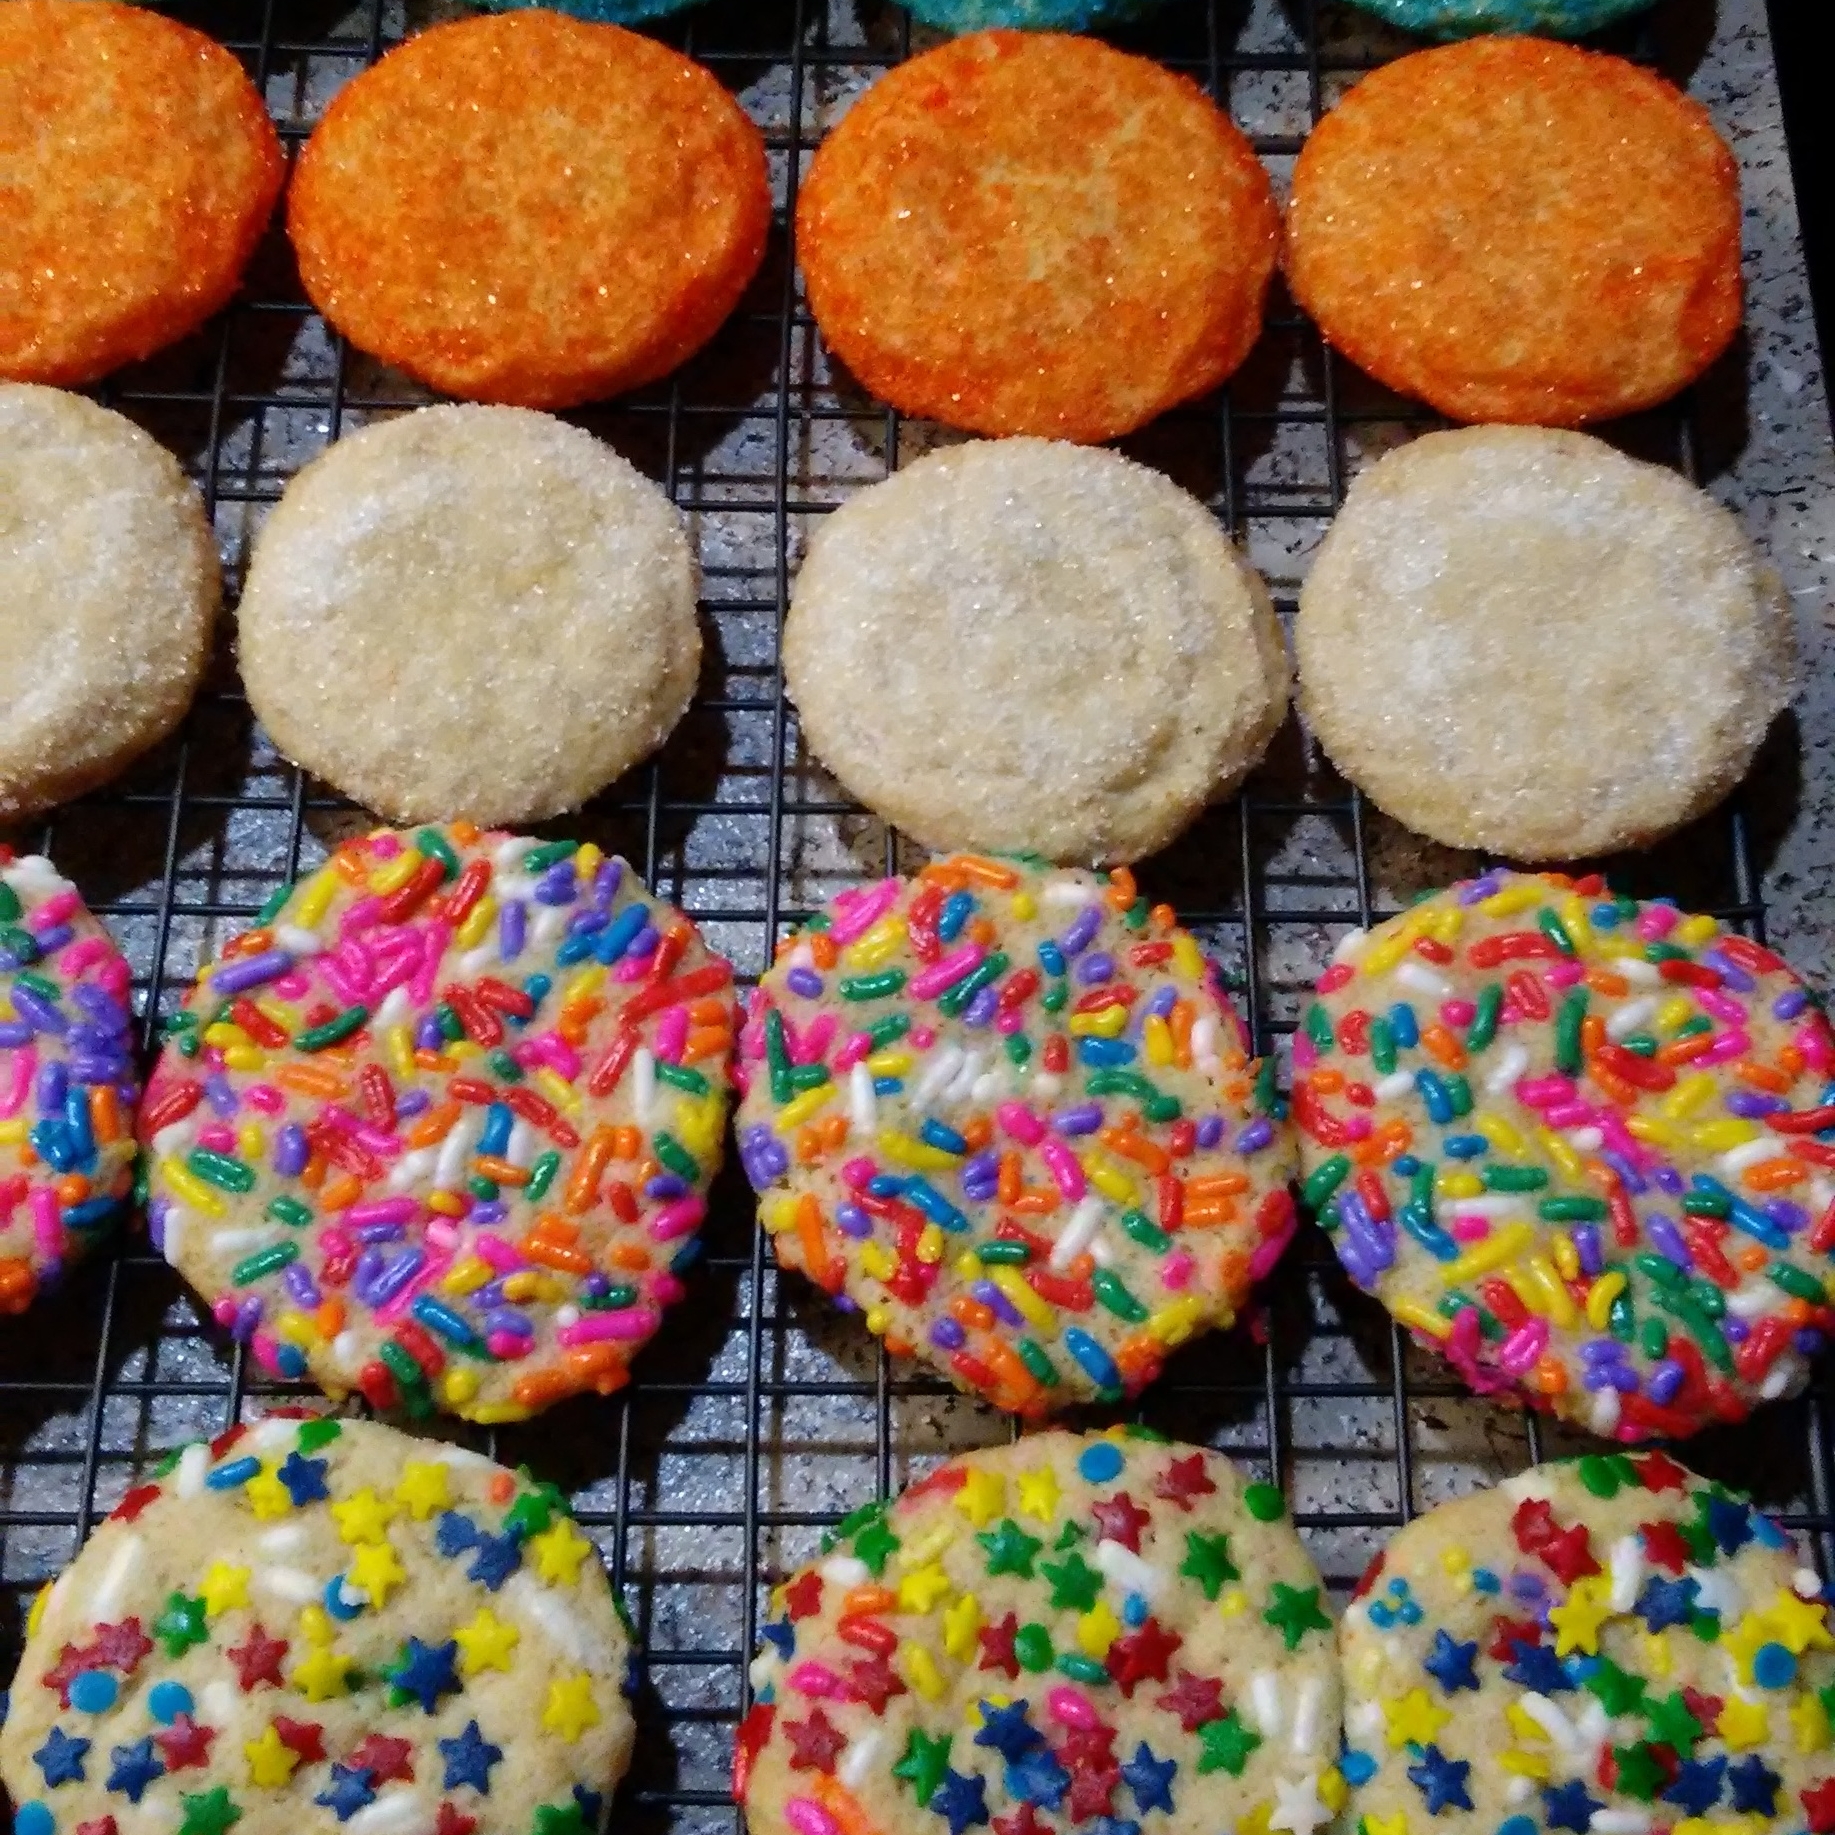
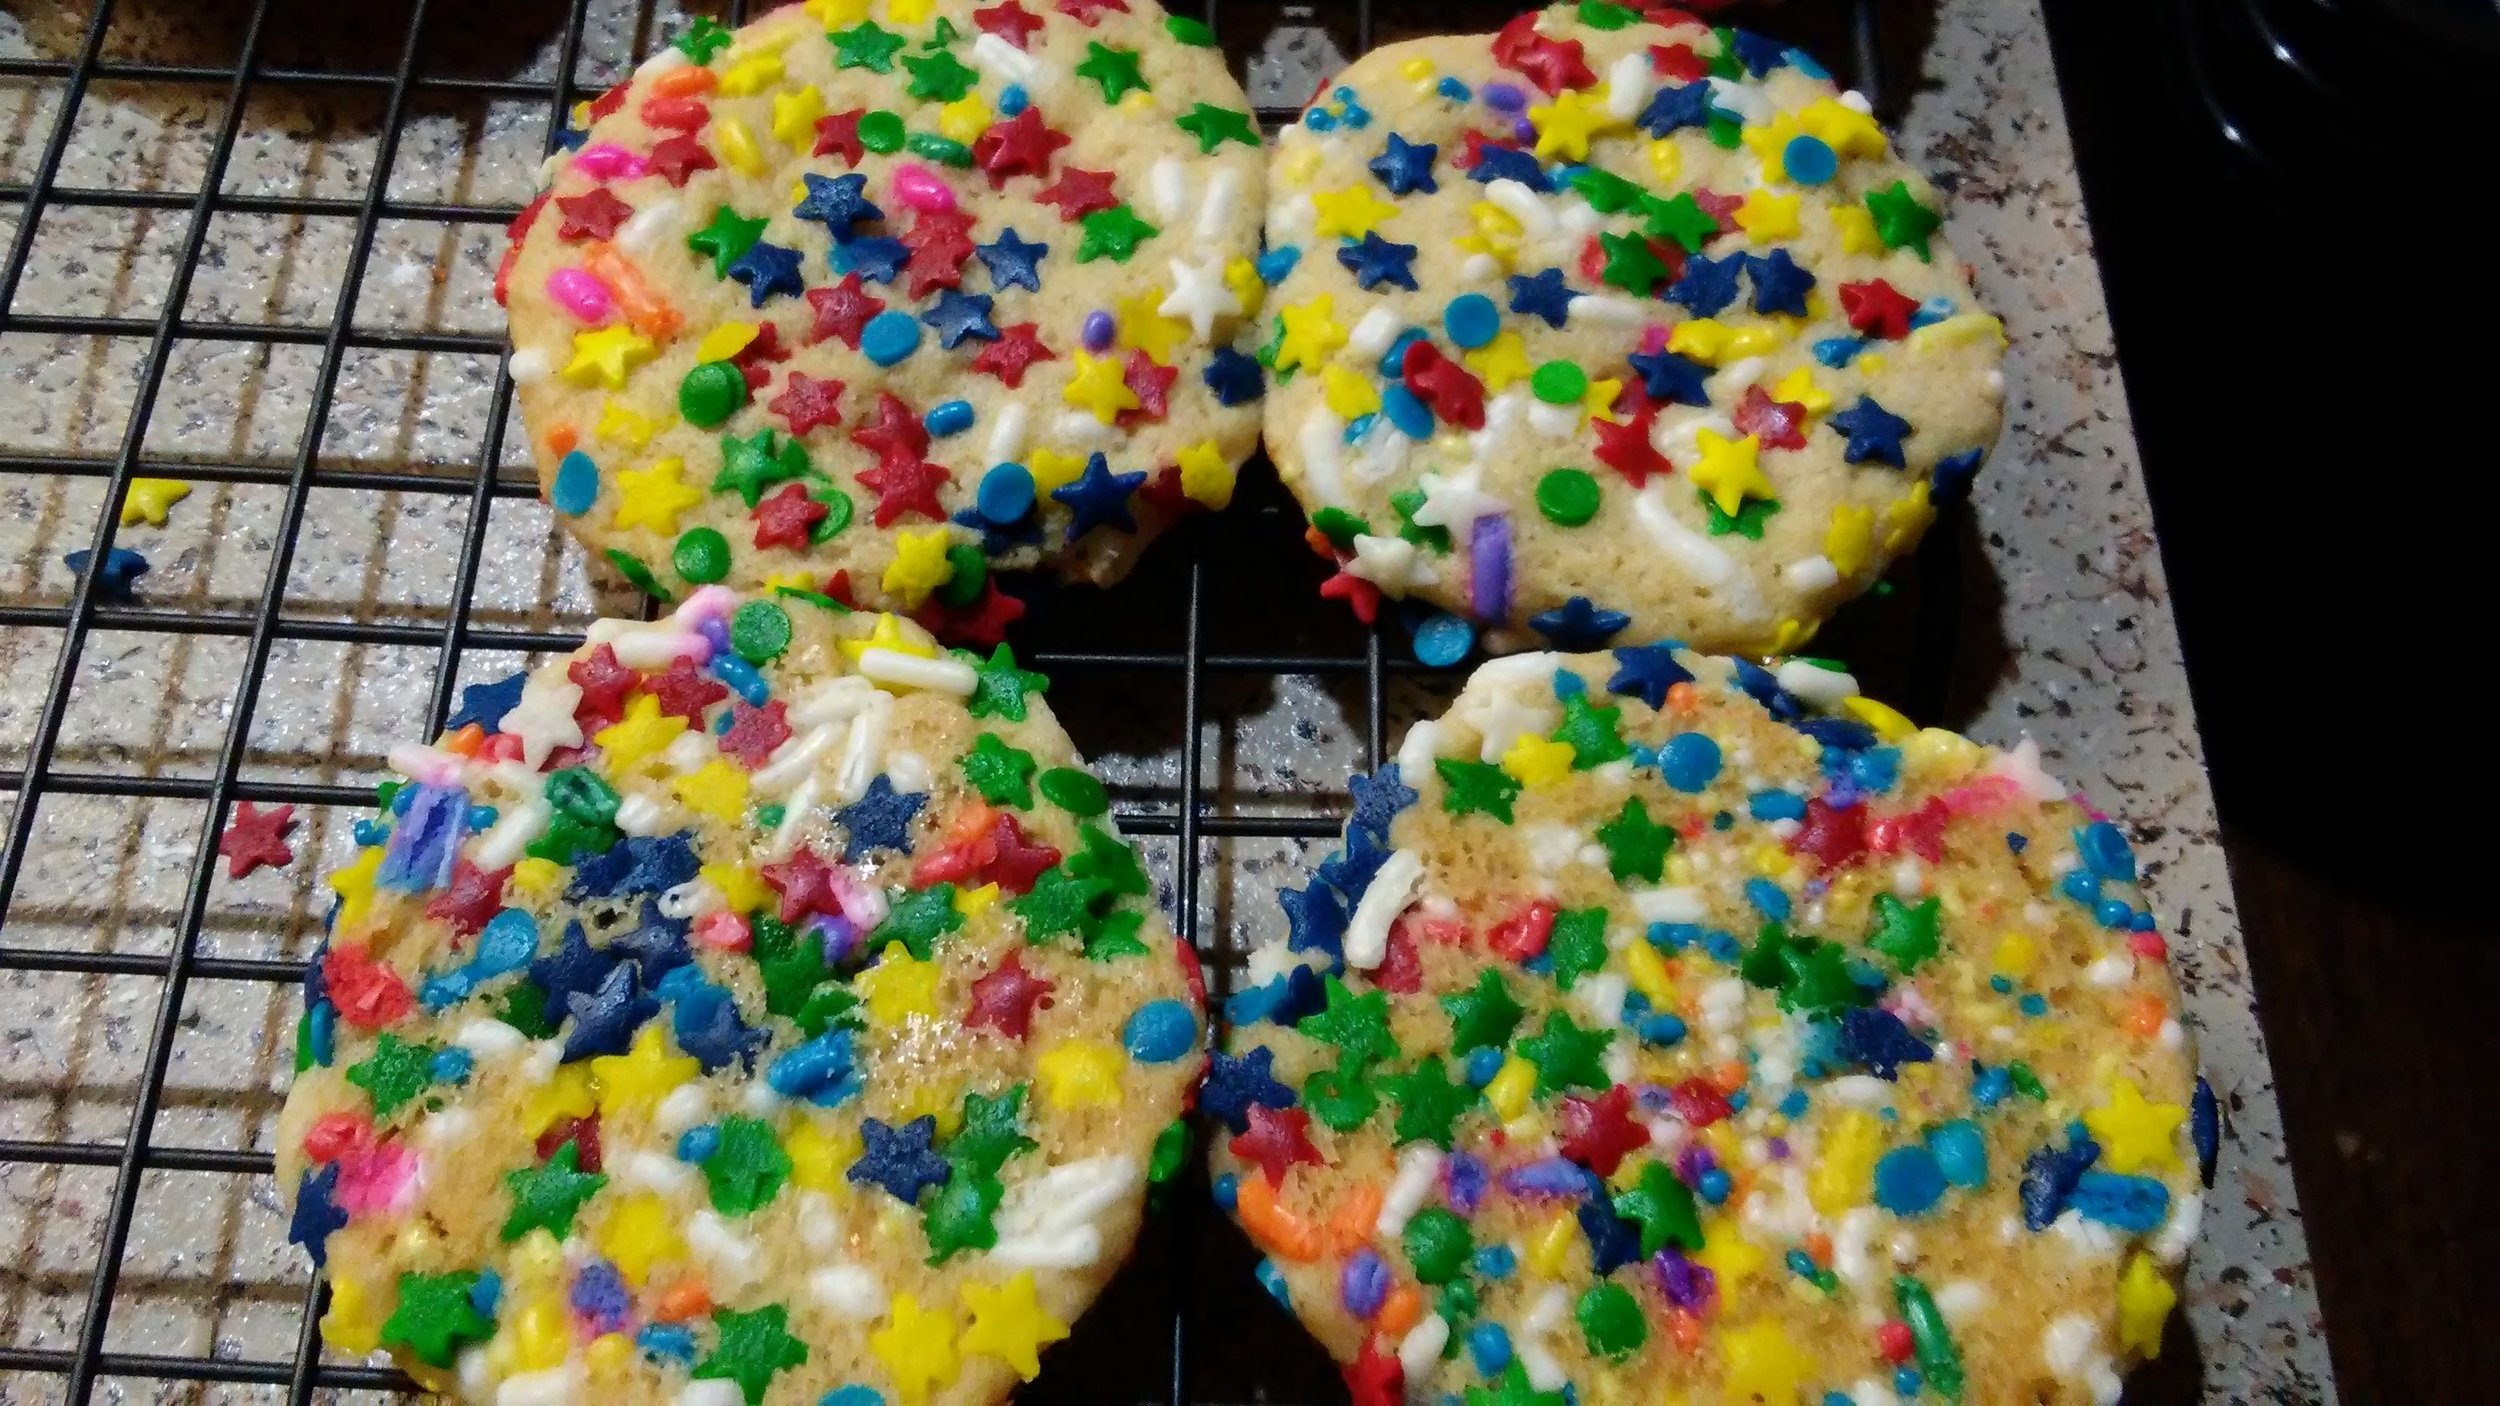
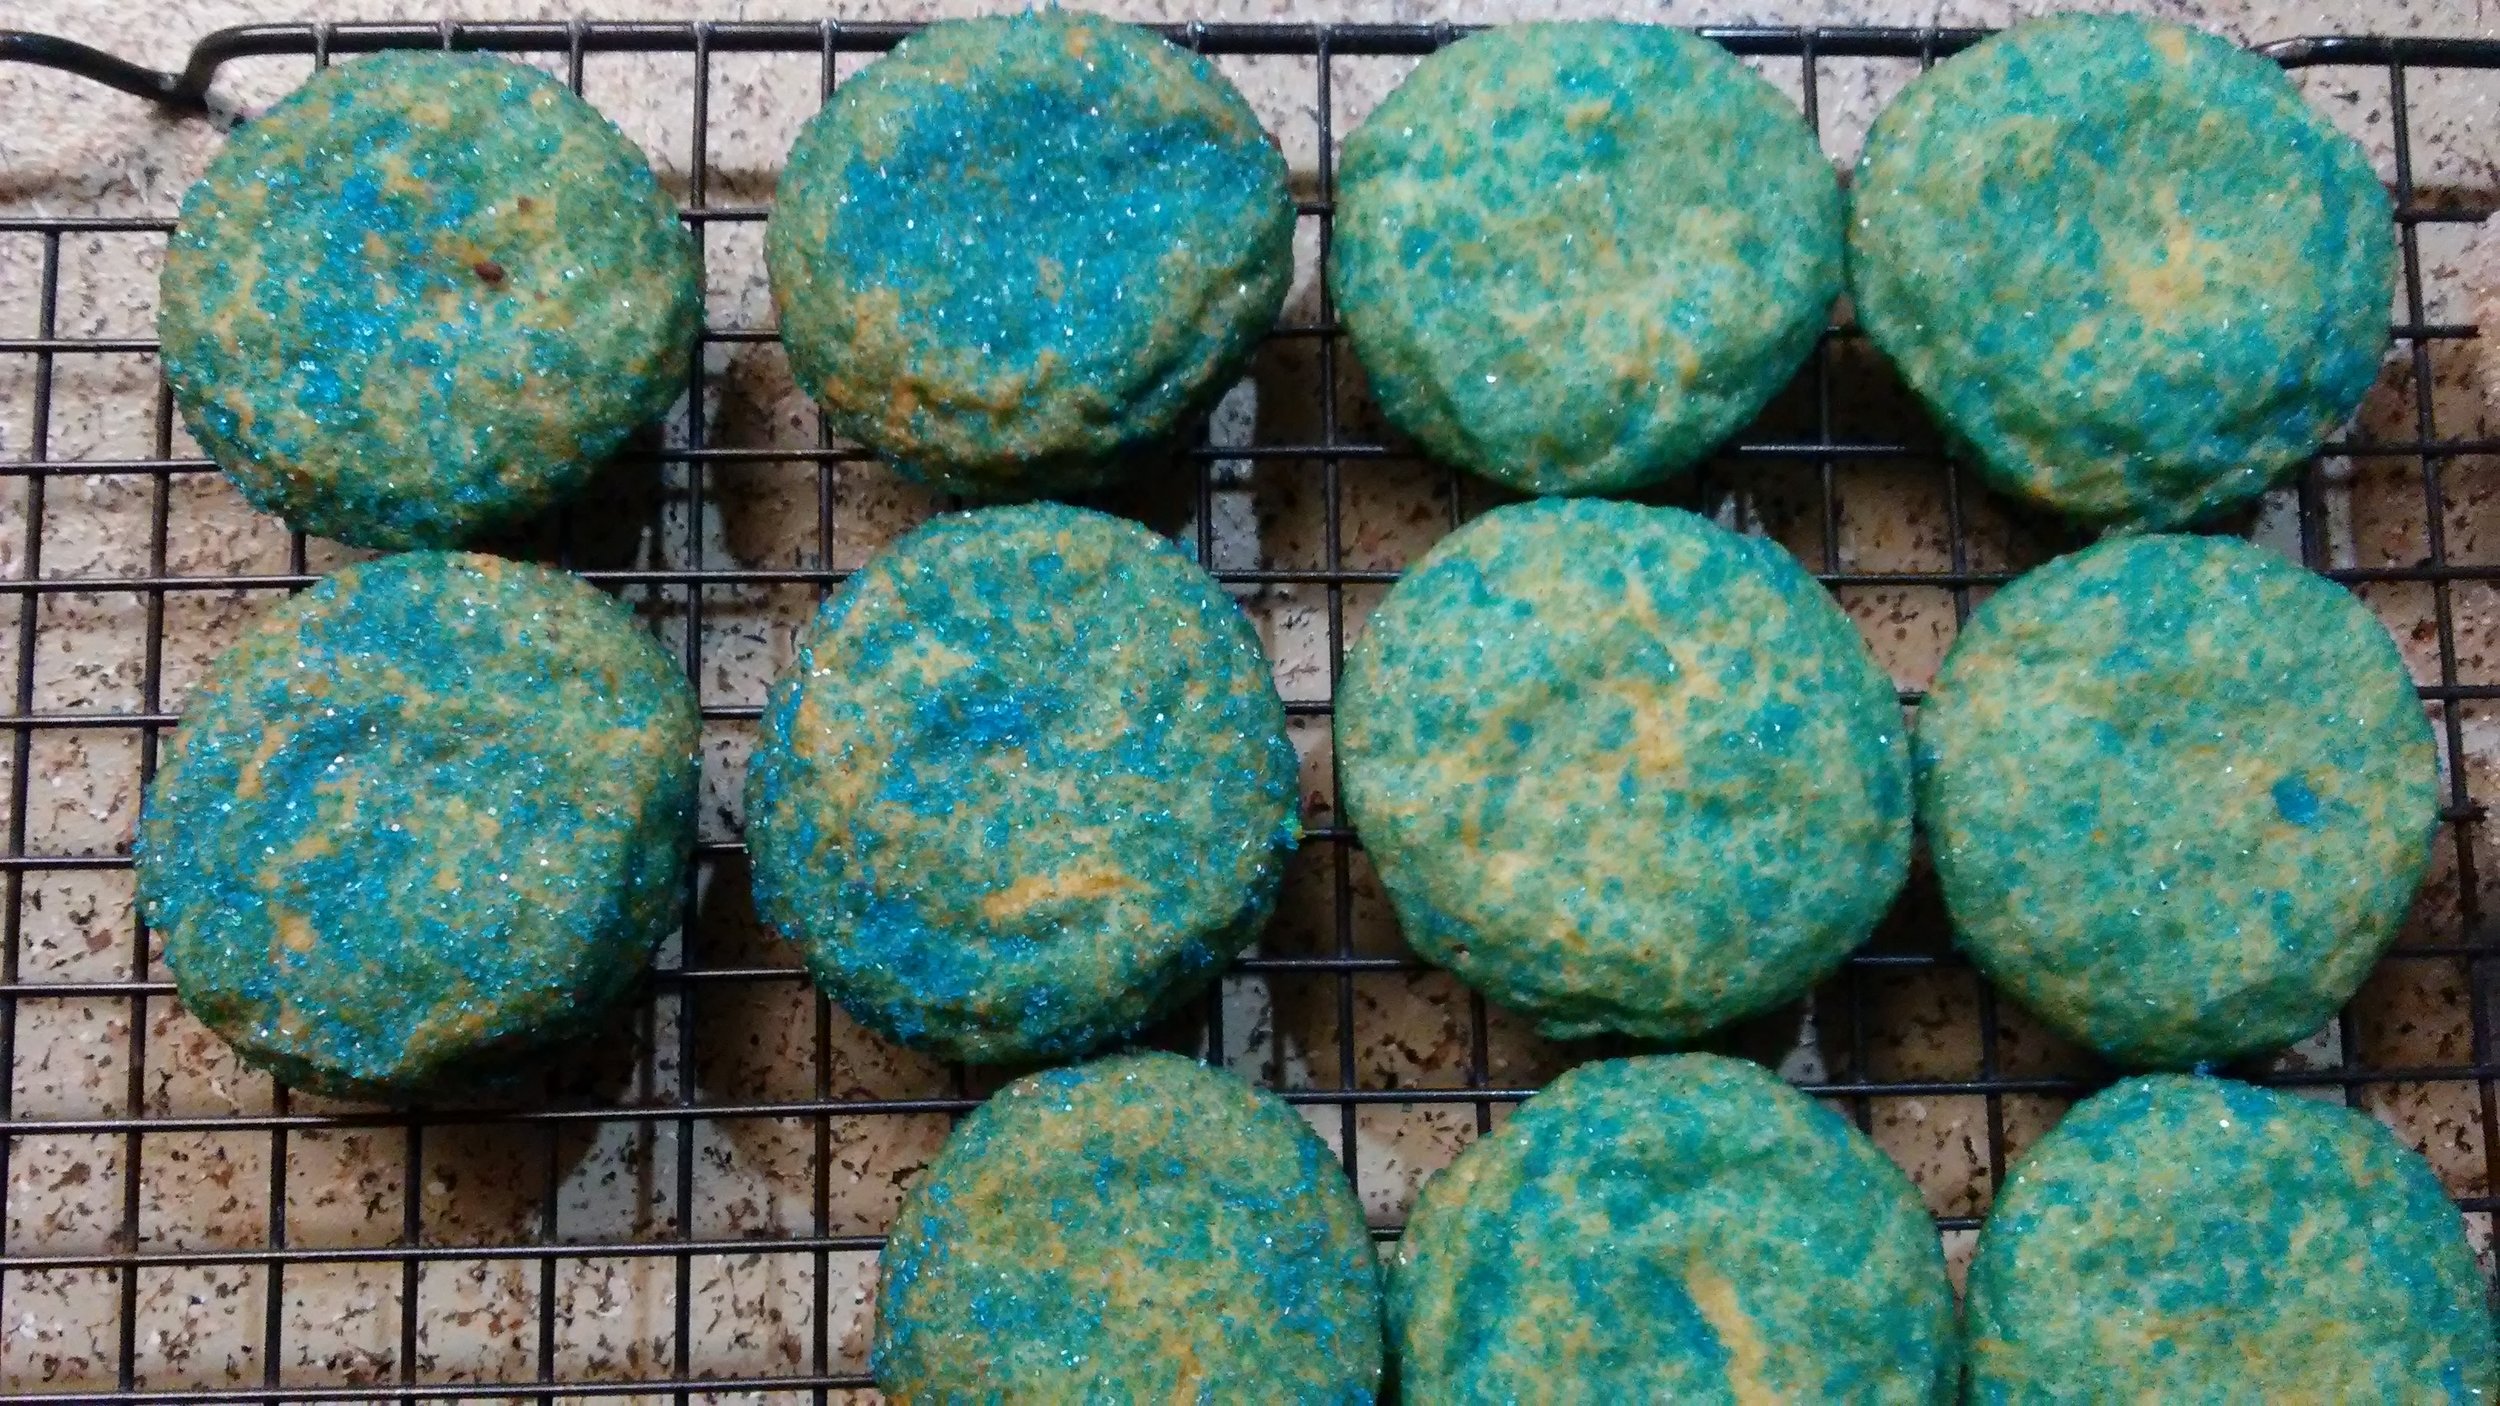
The simplest thing you can do with this dough is roll it in granulated sugar. You can use a 2-ounce scoop for big cookies. For mini cookies, I use a 1.5-ounce scoop, then split the ball in half. For fun, seasonal cookies, you can roll it in colored sugar. Wilton even has seasonal canisters that have several different colors of sugar, and a few different kinds of sprinkles.
To put sprinkles on instead of sugar, I recommend dipping only the top if you’re not using silicone baking mats. If you just use regular baking sheets or parchment paper, the sprinkles can burn on the bottom of the cookies. Silicone baking mats or insulated cookie sheets will help prevent sprinkles from burning or browning. I always use one or the other.
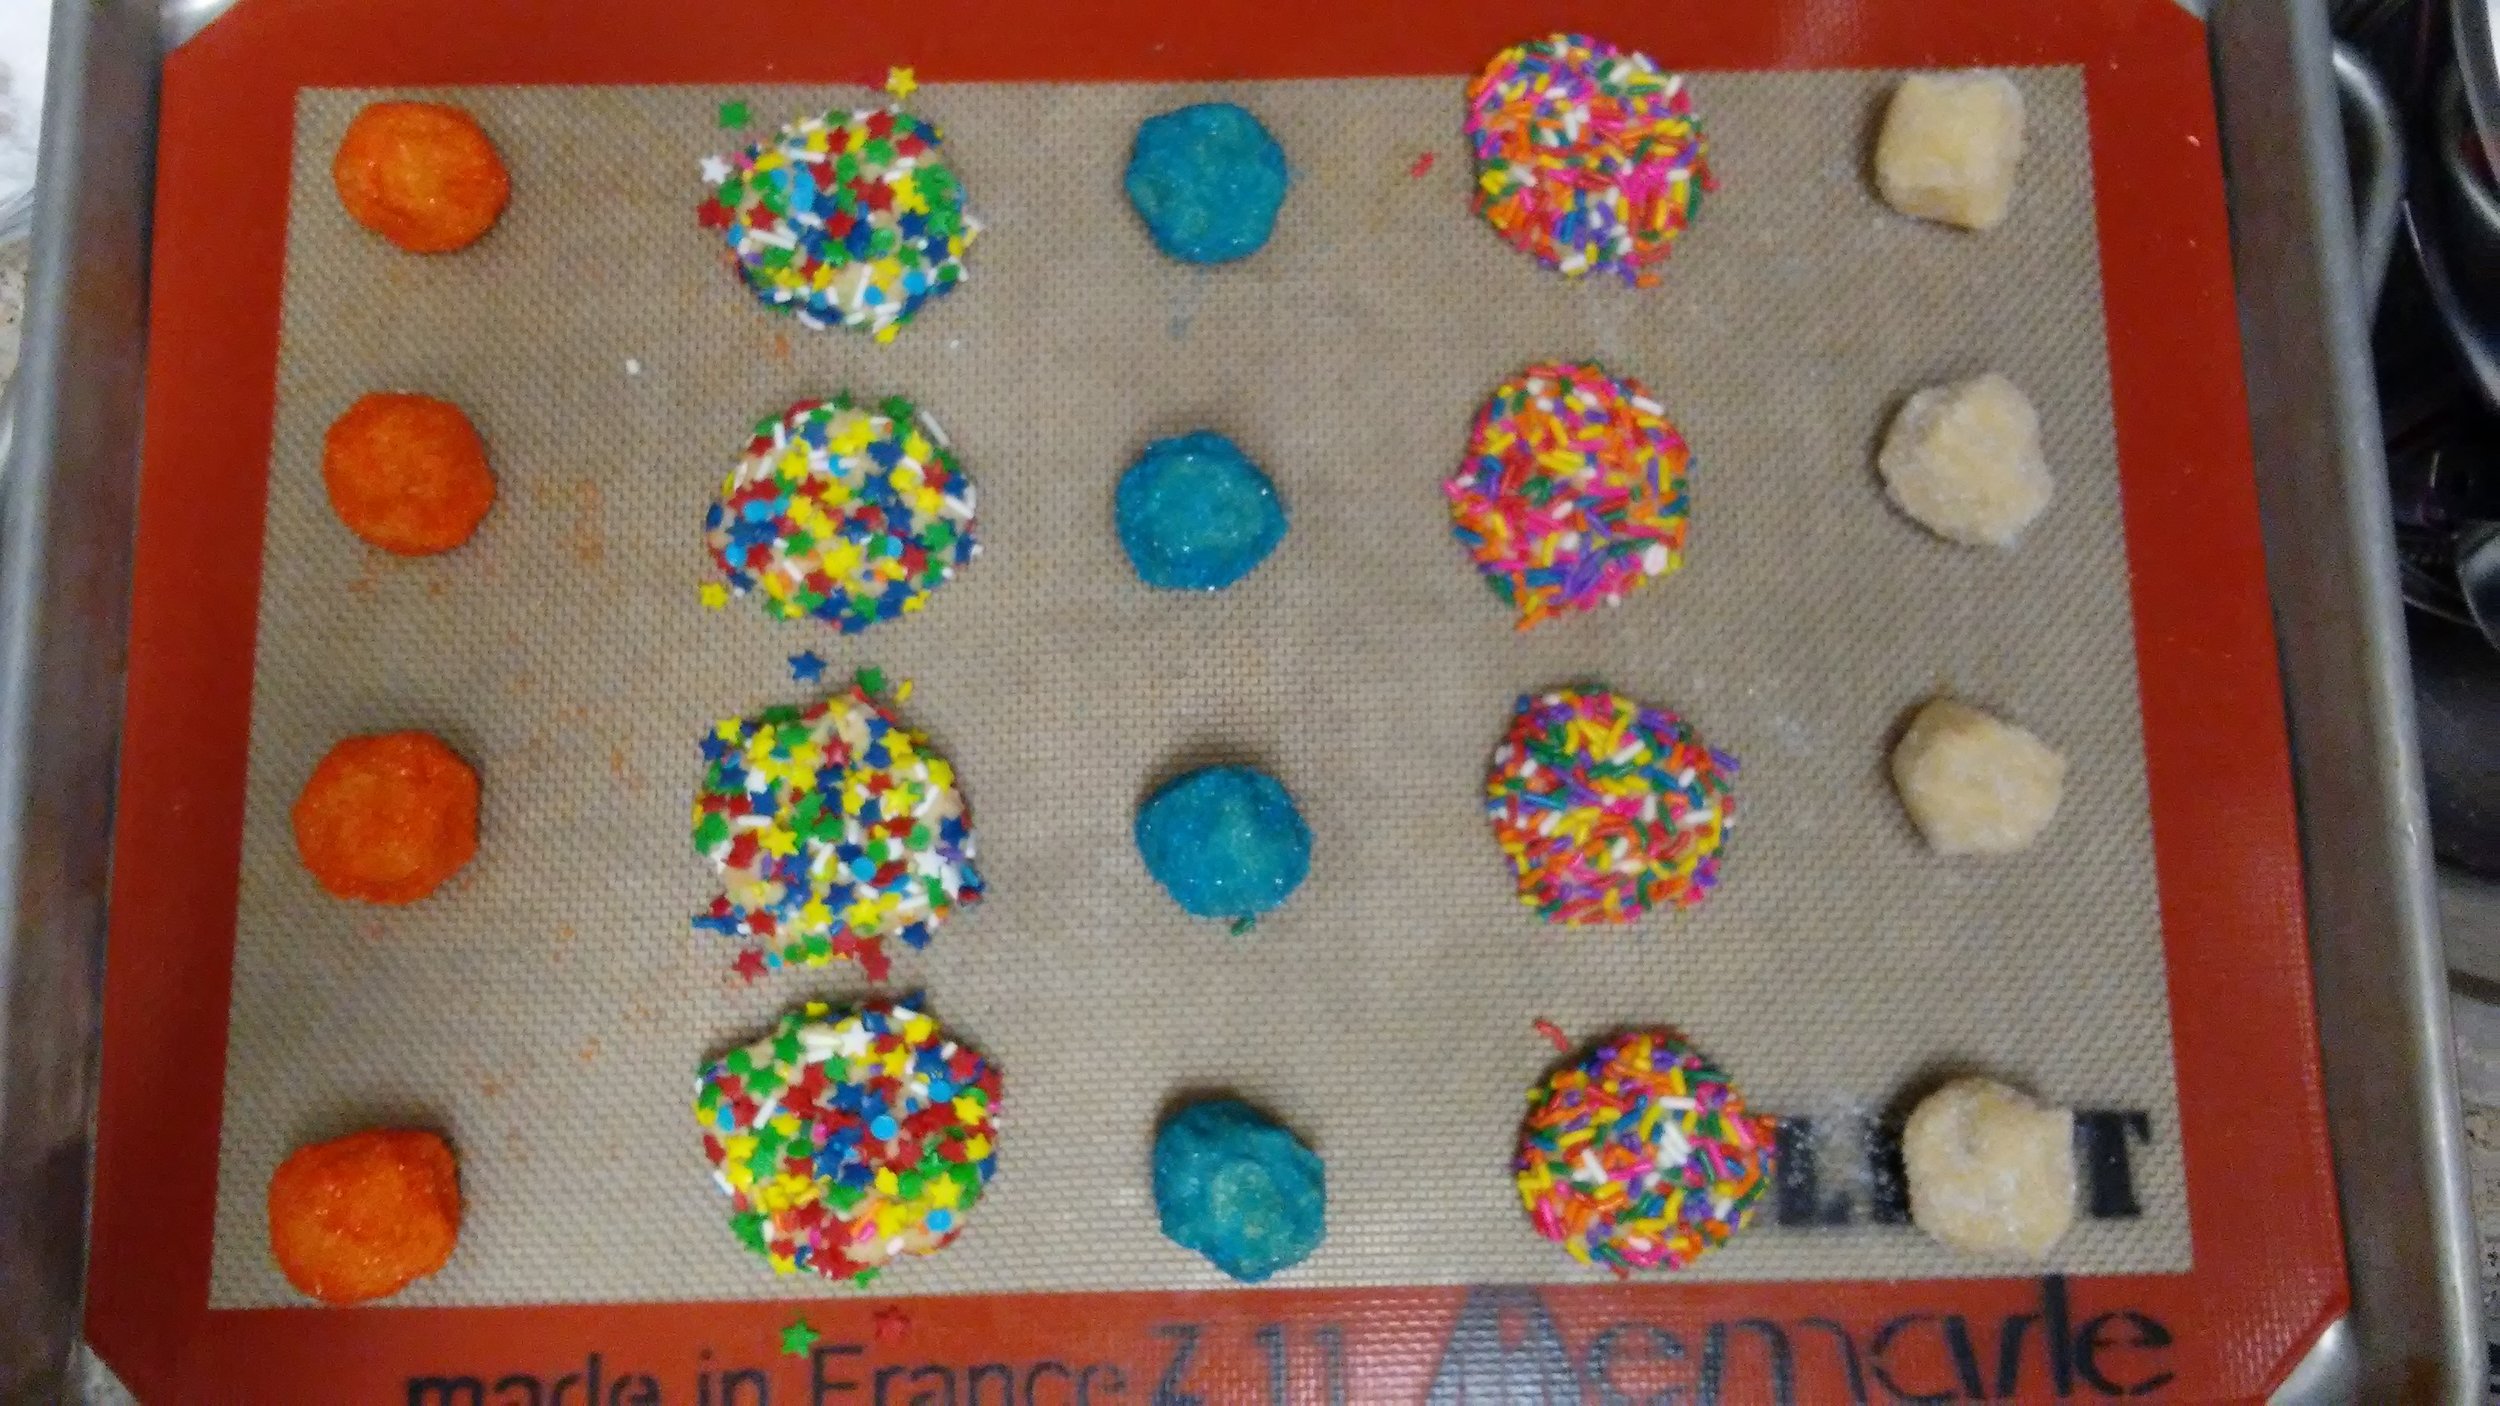
You might notice that my cool silicone baking mat? It’s a real Silpat and I’ve been using my set for over a decade. I have also bought cheaper silicone mats. Don’t. Cheaper ones are shit. Spend the money and buy a real Silpat.
Iced Sugar Cookies
If you plan on putting icing on your cookies, don’t dip them in sugar and don’t use a silicone baking mat. They should be baked on parchment paper to keep them from sticking. Don’t ever use cooking spray to keep these cookies from sticking. It will soak into the cookie and slightly alter the taste. Skimping on quality or process leads to a lesser quality of product. Don’t do it.
Cookie icing can be made or purchased. You’ll probably want to buy some. Oh, you don’t? Cool, cool. I’ve got you. Here’s a quick icing recipe.
Royal Icing
3 TBSP meringue powder
6 TBSP warm water
1/2 tsp of lemon or orange extract
1 lb. (4 cups) powdered sugar, sifted
Beat the first three until blended, then add the sugar one cup at a time. If it’s too thin, add more sugar little by little. If it’s too thick, add more water 1/2 tsp at a time. This icing can be stored in an airtight container at room temperature for up to two weeks. Don’t keep it in the fridge because you’ll never get it set up correctly after that.
I use Wilton brand gel colors to tint my icing. You can also leave out the extract and color your icing with Kool-Aide packets. If you do this, I recommend making it the day before you need to use it and stirring it again to ensure that the flavor/color crystals have dissolved.
To use this icing on cookies, you have to use a piping bag. You don’t even need a metal tip in it! You can just snip off the tip once you fill the bag. I like to put the bag in a tall, sturdy glass to hold it up for me while I fill it. Be careful not to cut off too much of the tip, or your icing will just run out the end of the bag. If you try to spread it with a knife, it will just run off the side of the cookies. First, pipe the edge of the cookies. Not too close, but not too far away, either. You’ll get the hang of it pretty fast. Do the edges of all of the cookies, then go back to finish filling in the center, working in the same order you did before. There are all sorts of fun stuff you can do with icing, but I won’t get into any of that here. Maybe in a few months when I cover Christmas cookies.
Snickerdoodles
To turn these plain old sugar cookies into scrumptious snickerdoodles, all you have to do is make some cinnamon-sugar and drag them through it. For every 1/4 cup of granulated sugar, you want one TBSP of cinnamon. So, for one full cup of sugar, I use 4 TBSP of cinnamon. I usually keep some pre-made in my kitchen.
My secret is to drag them twice—once before baking, and once after. I guess it’s not much of a secret, though, since so many other people do, too. I was actually surprised to learn that anyone doesn’t. So, yeah…there’s that. You’ll need two different bowls of cinnamon-sugar because there are raw eggs in the cookies. Use one bowl to coat the raw dough, then a different bowl to drag the cookies through once they’re out of the oven.
Cross-contamination should always be avoided at all costs by implementing frequent handwashing and being conscious of when you’ve touched raw things before you touch cooked things or stuff that will come into contact with read-to-eat items. For example, don’t touch your oven mitt with raw-egg-hands because there’s always the chance you might accidentally touch a finished cookie with that same bit of fabric when you pull it out of the oven. Don’t set up your cooling racks with raw-egg-hands. No one likes food poisoning. Be safe in your kitchen and you won’t make the people you feed sick.
Sandwich Cookies
If you want to make little sandwich cookies, you’ll want to use frosting, not icing. The difference is that frosting stays soft, and icing dries and gets hard. I recommend using a small star-shaped tip to make the edges pretty. Now, you want another recipe for frosting, don’t you? Ok…fine.
American Buttercream Frosting
1 cup unsalted butter, softened
2 1/2 cups powdered sugar
1 tsp vanilla extract
3 TBSP milk or cream
Beat the butter in a mixer until smooth, but don’t whip a bunch of air into it yet. Add the sugar one cup at a time, scraping down the sides of the bowl each time you stop the mixer. I add the milk right before I add the second cup, then I add the vanilla before I dump in the last half cup. If it is too thick, add more milk or cream 1/2 a tsp at a time. If it’s too thin to hold it’s shape, add a bit more sugar, but no more that a TBSP or two at a time. But, now is the time you can start to whip air into it to make it lighter, fluffier, and to make it hold it’s shape better.

The ones with the frosting are even better the next day. Especially if you use the drier cookies to make the sandwich cookies.
Now, let’s get down to the dirty of things…
Mise en place
That’s French for get your shit together. Make sure you have all of your equipment and ingredients before you start mixing anything together. Because I’m writing about so many varieties in this blog, I can’t really give you a comprehensive list. You’ll have to sort it out yourself. All of them need a mixer, bowls, measuring utensils, something to scrape the sides of the bowl, and cookie sheets. You’ll also need cooling racks. But, do you need piping bags? Food coloring? Fun sprinkles?
Drop Sugar Cookie Recipe
1 cup (two sticks) unsalted butter, softened
1 1/3 cups granulated sugar
1/2 tsp salt (I use pink Himalayan or Falk salt)
1 large egg
1 TBSP vanilla extract
2 1/2 cups all-purpose flour
1/2 tsp baking powder
1/2 tsp baking soda
more sugar for rolling, if they won’t be iced or frosted
Line your insulated cookie sheets with parchment, or your regular cookie sheets with silicone mats. Set the oven to 350, or 325 for convection ovens.
Cream together the butter, salt, and sugar until well blended, but don’t overmix. The more air you have in these cookies, the more they’ll expand and subsequently fall after baking. Scrape down the sides.
Mix in the egg and vanilla. Scrape down the sides and the bottom to make sure it’s all mixed evenly.
In a separate bowl, whisk together the remaining ingredients—flour, baking soda, and baking powder. Add it to the wet ingredients and mix until combined. Be cautious of overmixing, as this will develop the gluten strands more and lead to a tougher cookie.
An average sized cookie would be about two TBSP of dough, but I like to use my scoop. It’s 1.5 ounces and it makes a good size. For little cookies, I use my scoop, then split the balls in half.
Roll the balls in sugar, cinnamon-sugar, or sprinkles (or leave them plain if you’re icing them) and place them 2-3 inches apart, depending on their size. For full-sized cookies, they’ll bake for 11-13 minutes. For smaller ones, 8-10. I do one large cookie sheet at a time on the center rack and rotate it halfway through. Unless you have a convection (forced-air) oven, I wouldn’t recommend baking two sheets at a time as they’ll bake unevenly, even with a turn.
It’s so hard to tell when cookies are done, right? These shouldn’t brown. If they do, they’re overdone and you’ll want to eat them first before they get hard. The tops should look a little crinkly and they shouldn’t look wet anymore. The bottom edges should just be starting to turn a light golden color when they are done.
Give them a few minutes to cool on the sheet before you move them to a cooling rack. If you coated them in either sugar or cinnamon-sugar, drag the cookies through a new, clean bowl of sugar on their way to the cooling rack. If you coated them in sprinkles, don’t bother; they won’t stick. But that extra coat of sugar or cinnamon-sugar makes them extra delicious.
Cool completely before icing, frosting, or stacking the cookies.
If you want to make the dough itself colored, add food coloring to the butter/sugar mixture. DO NOT mix it in after the flour is mixed in or you will overdevelop the gluten.
What’d I miss? Questions? Comments? Leave me a note below in the comments section.